In the first article, we described a relatively simple method of firmware static analysis without any additional information (stripped binary). If you haven’t read it, please proceed to do so, as readers are expected to be familiar with concepts introduced there: Reverse engineering STM32 firmware
The workflow of the program becomes much clearer when using variable names and functions, that are relevant to the context. In order to match memory locations with program variables, a symbol table is needed, but only developers own it.
Some functions of a regular program are executed by the OS kernel and system libraries, which linker later projects into the process memory during the startup. This method is called dynamic linking. In microcontrollers, however, the firmware is usually self-contained, because it is statically linked into a single file, that includes all libraries and real-time operating systems.
Microcontroller manufacturers provide an SDK that contains system libraries for working with microcontroller components, a toolchain for processing the entire code into the finished firmware and symbol tables for device debugging.
The algorithm for creating additional information for stripped binary analysis is as follows:
- Determine which peripherals are used and which pins are occupied.
- СтвоCreate own test project for the MCU and initialize peripherals the same way as determined during step 1
- Compile the project and disassembly the obtained ELF file — it contains generated symbol tables.
- Generate signatures for functions and data types.
- Use obtained signatures for the stripped binary analysis.
0x00 r2 zignatures #
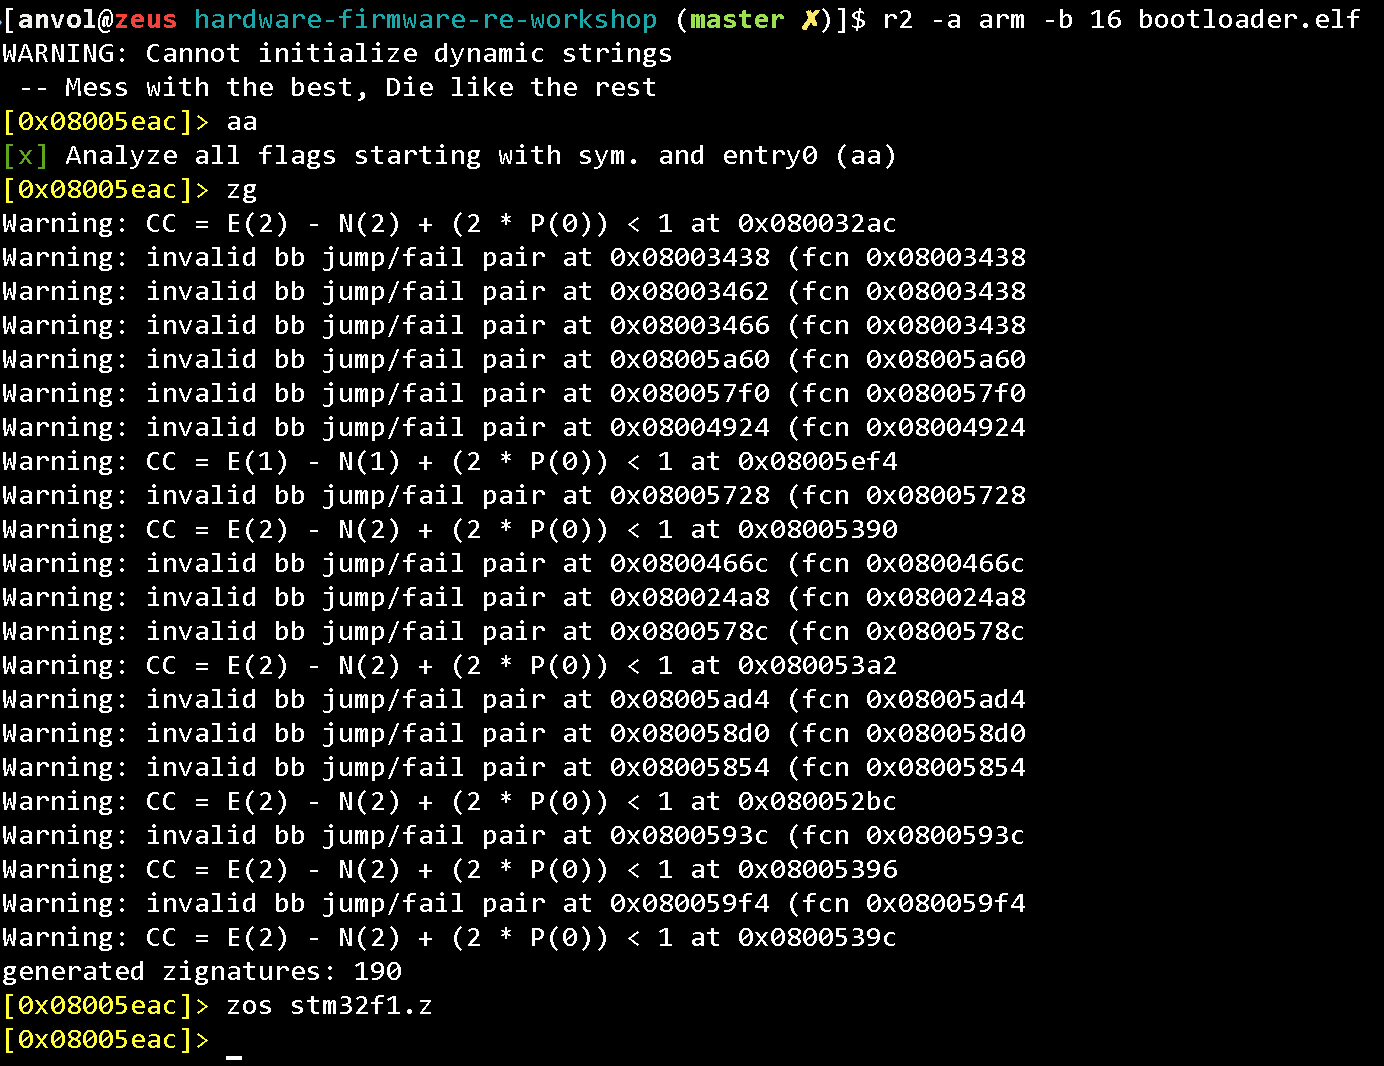
Let’s analyze the file, generate the signatures and save them to a file:
aa
zg
zos symbols.file
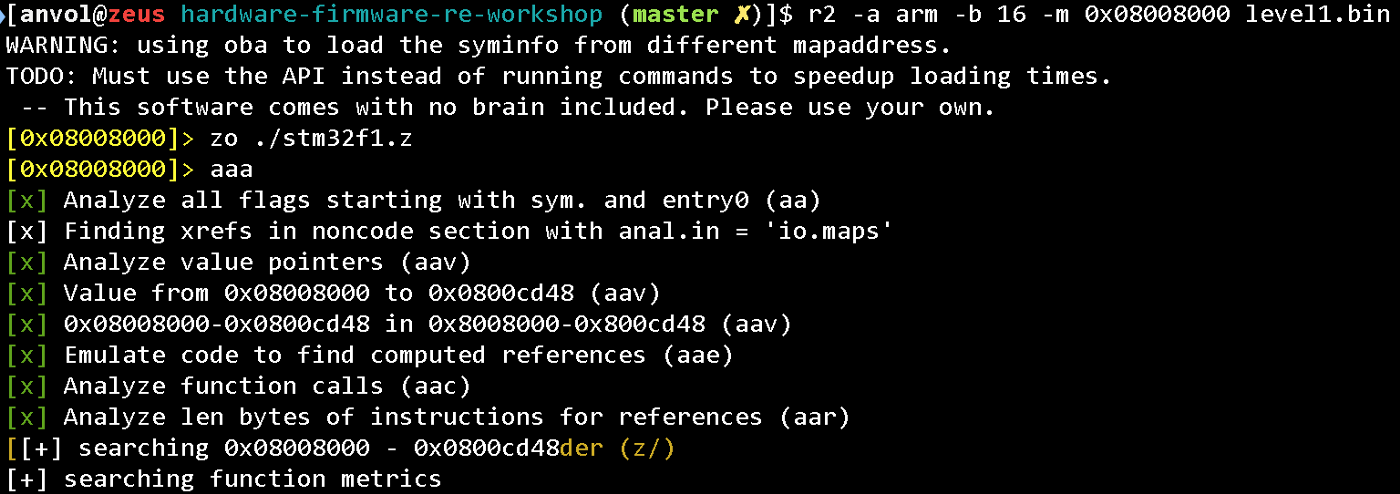
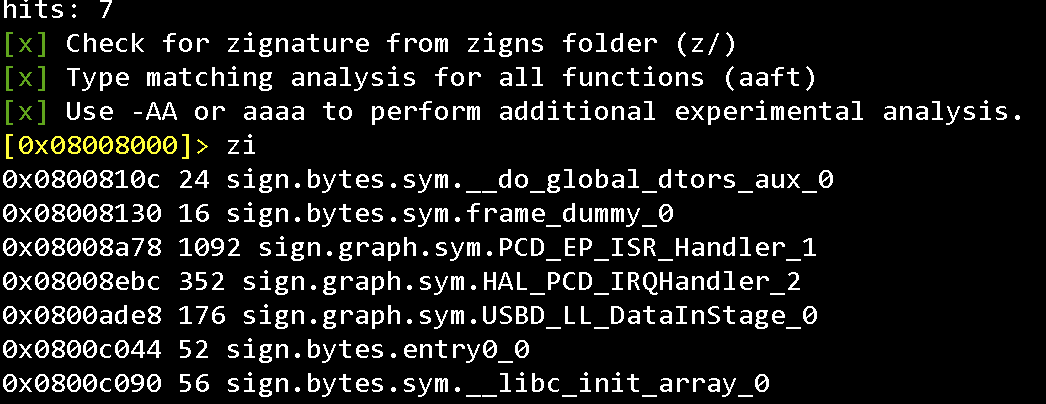
Then open the stripped binary, load the signatures and take a look at the results:
zo ./symbols.file
aaa
zi
0x01 Memory Map #
For static analysis, it is convenient to use code emulators. Emulating the program workflow it is possible to get additional information about the code.
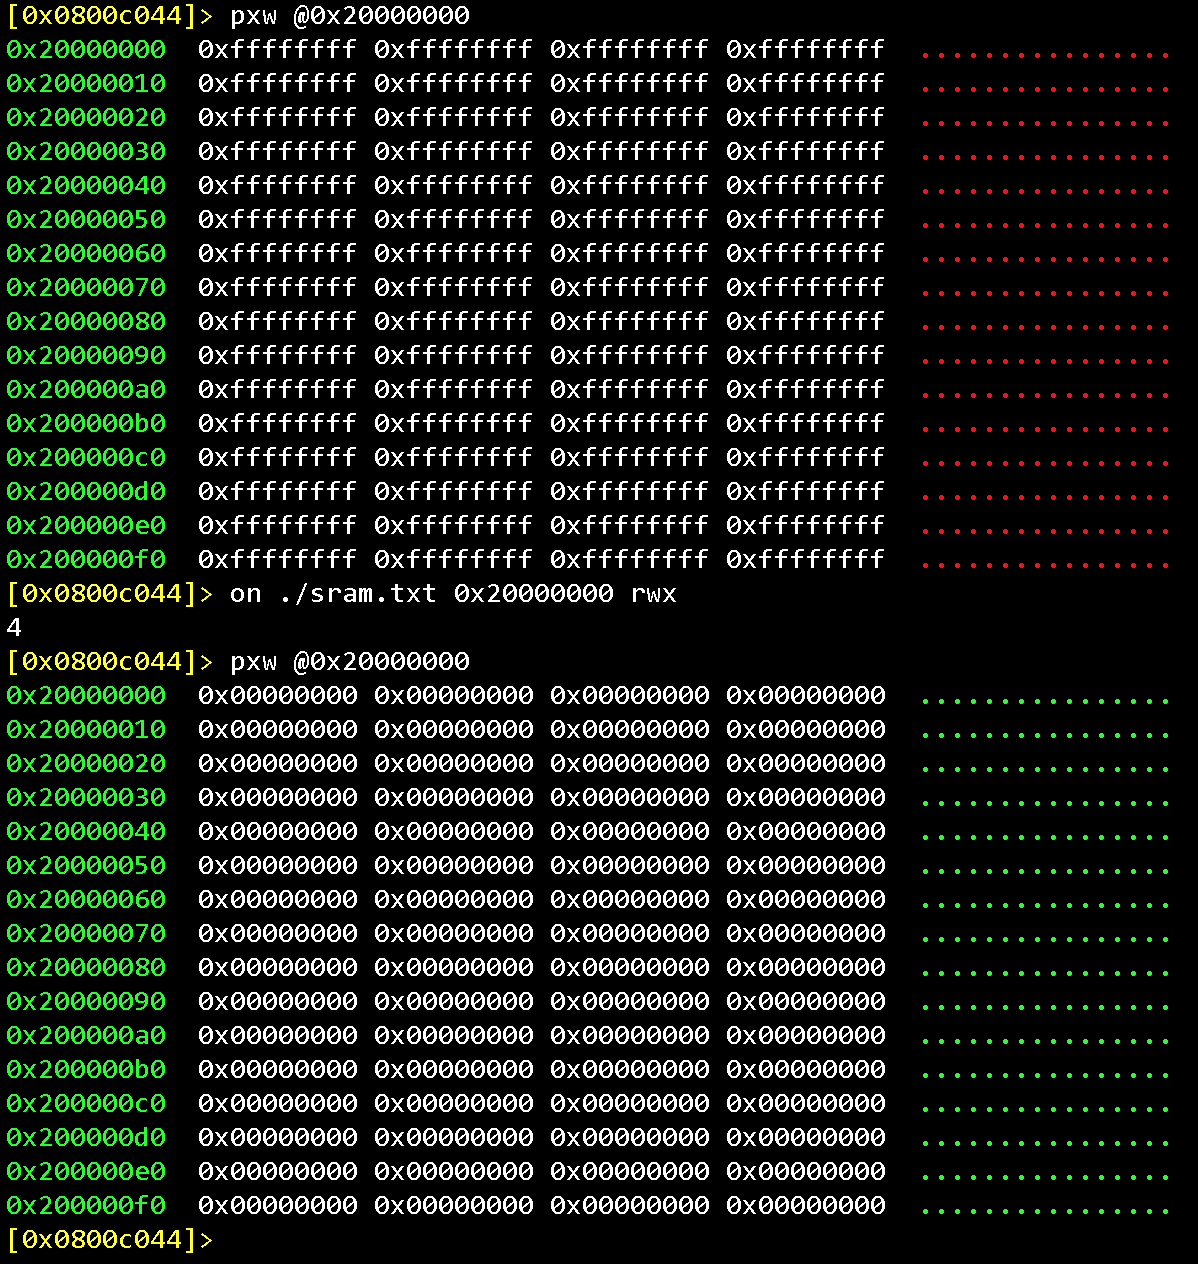
Let’s create a blank file that we’ll store SRAM content to:
dd if=/dev/zero of=sram.txt count=512 bs=1024
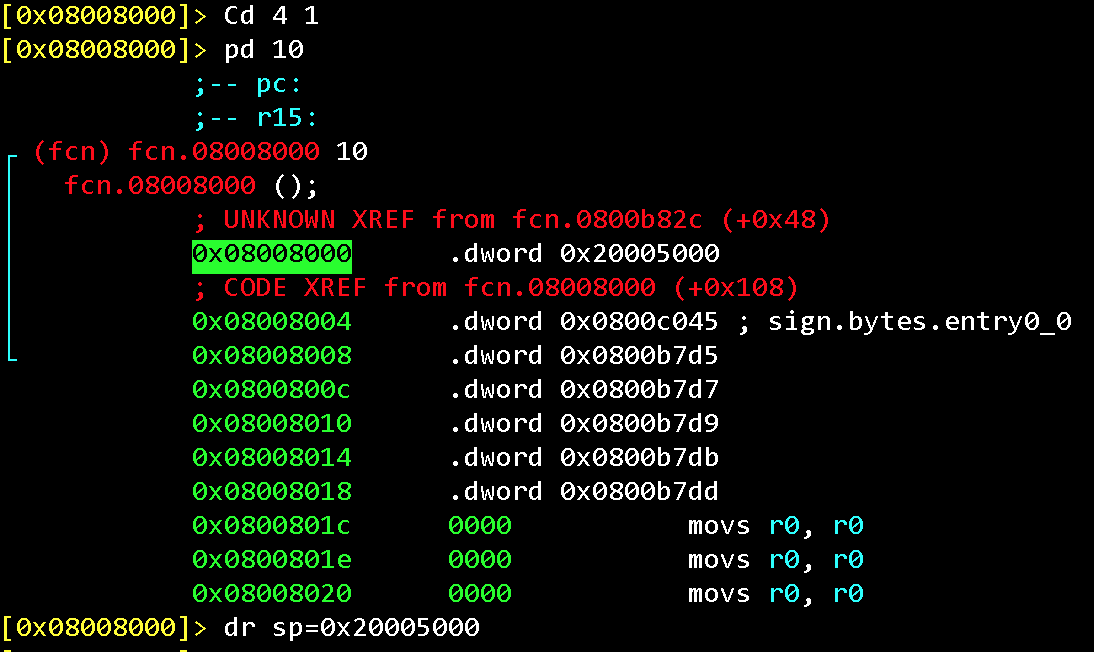
We need to enable displaying the emulation results and set the value of the stack pointer as specified in the MCU documentation (first 4 bytes of the firmware):
dr sp=0x20005000
e asm.emu = true
aer
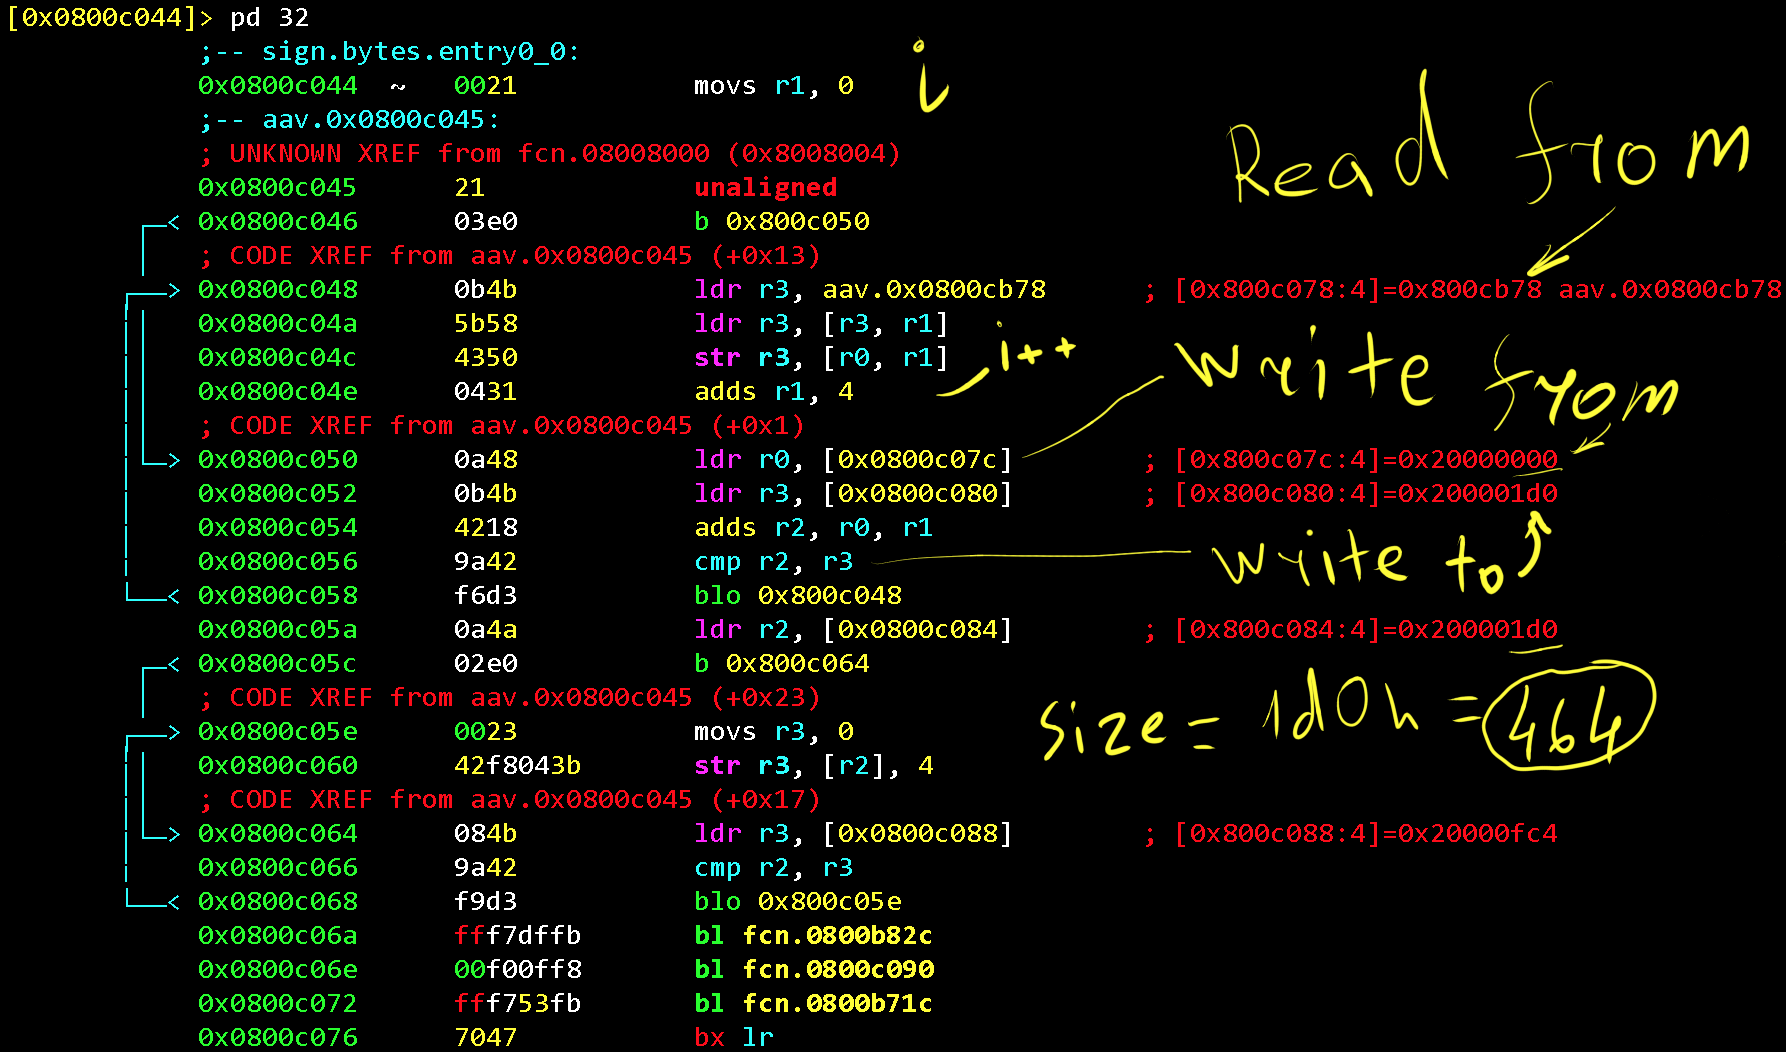
Some useful information is copied from Flash to RAM at the very beginning of the firmware execution (entry0, which is the ResetHandler).
Try to run it step-by-step yourself to understand how the registers and memory work.
Then we upload the file to the SRAM start address (0x20000000)
on ./sram.txt 0x20000000 rwx
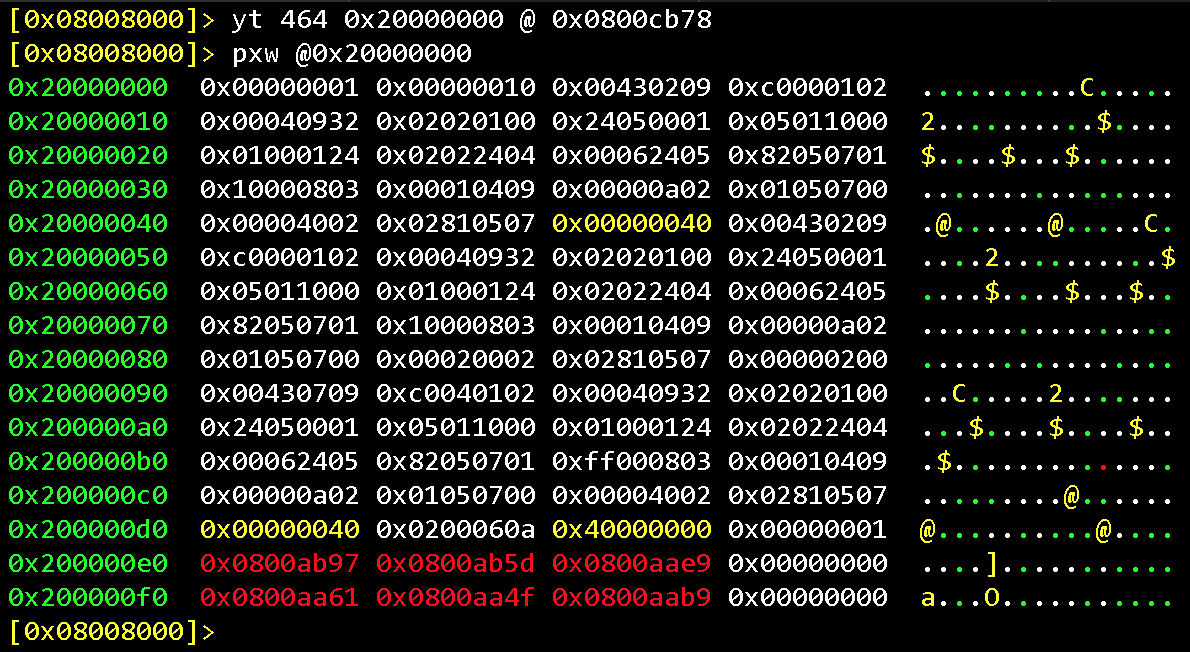
Let’s copy a part of the Flash memory to SRAM, as does the microcontroller in the ResetHandler function. Note, that among the memory data, there are some pointers to the Flash region (0x0800xxxx)
yt 464 0x20000000 @ 0x800cb78
pxw @0x20000000
Now, if we look inside the license verification function (details were described in the previous post), we will see the strings for the text messages and hardcoded plaintext password for the “Level 1” task of our workshop.

